Discover
What we do
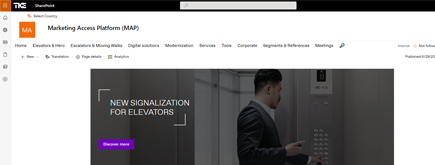
TKE SharePoint rebranding
TKE, a global elevator leader, consulted with NIFTIT to overhaul their SharePoint site for the Asia Pacific team. Enhanced search, mobile usability, and multilingual interface ignited innovation.
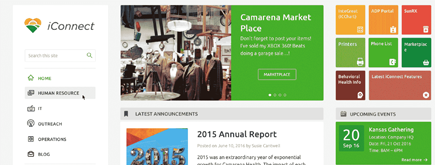
Camarena Health
NIFTIT's expertise in advanced UI/UX design combined with the functionality of Microsoft 365 transformed Camarena Health's digital landscape, driving efficiency and engagement.
The New York Metropolitan Transportation Council (NYMTC)
Discover how NIFTIT improved data access and enhanced collaboration for NYMTC by leveraging SharePoint, optimizing data connections, and orchestrating business automation workflows.
NIFTIT LLC
85 Delancey St, 2nd Floor, New York, NY 10002, USA 1-848-272-0977
How to reset the ID field in SharePoint!
By Hai Nguyen Tuan
Published 3 years ago
~4 minute read

The ID field in SharePoint is a counter that automatically increases when a new item is inserted; it cannot be changed or updated via any other means. Unfortunately, there are times when the column requires resetting for a unique purpose. If the list has limited data, it is an easy fix to move to a new list with the same structure and re-enter the information manually to correct the counting error. However, this route is just not feasible with larger lists, which is generally when one might use PowerShell Script. Interestingly, there is a lesser-known alternative to using PowerShell Script; in this article, I will introduce a means of resetting the ID counter and saving to a new list using hacking customization.
This is a step-by-step tutorial to reset the ID to one and the order to increasing sequence.
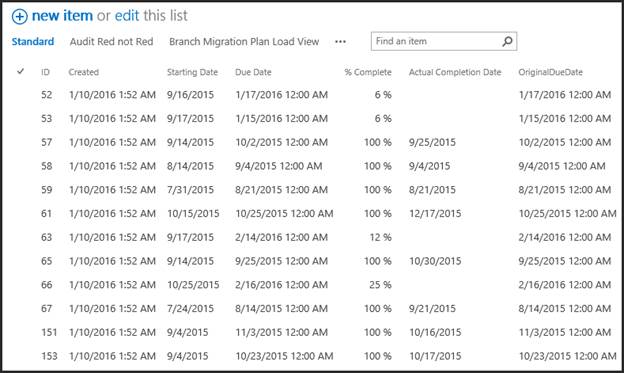
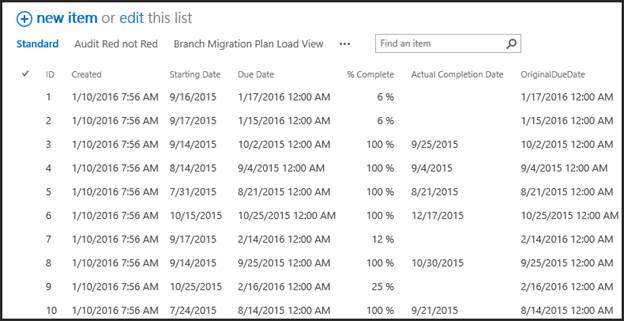
The list above does not begin with one, nor are the numbers incremental. To fix this, follow these steps:
Step 1. Save this list as a template, including the content
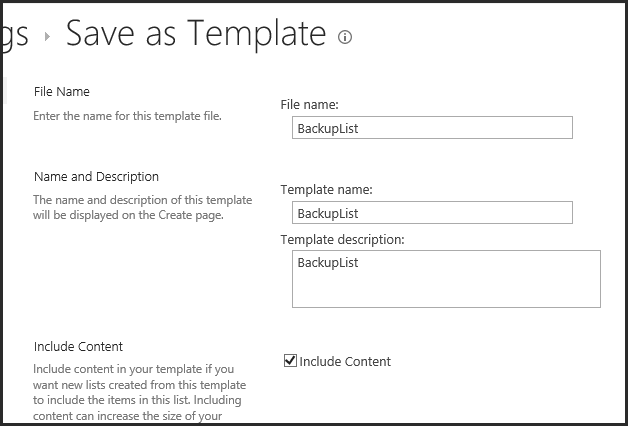
Go to List Settings -> Save list as template. Type the file name, the name of the template, the description, and check “Include Content.”
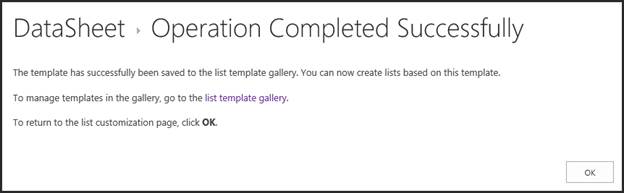
After the saving process is complete, it redirects to a result page
Click on the list template gallery to download the template file. By right clicking on the file name and selecting the Save target as item on the context menu, the file will be downloaded to your local machine. *Feel free to save the file wherever you wish, but make note of the folder name holding the file.
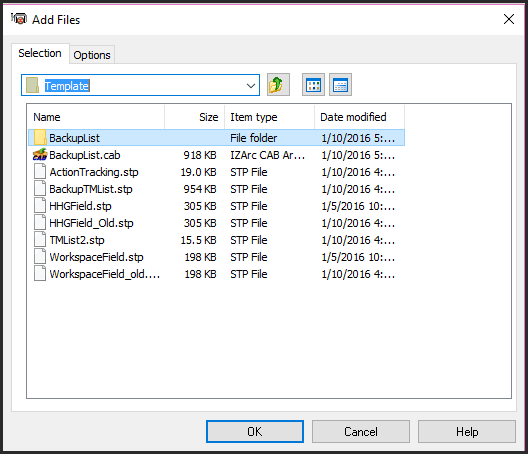
Step 2. Go to the folder in which you stored the template file. Rename the extension to .cab before extracting the folder.
There are two things to which you should pay attention:
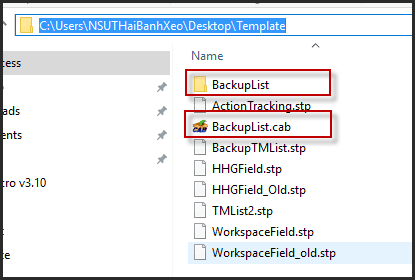
First, only change the extension and always keep the file name. Second, extract the folder that is the same as the file name. Take a look at the picture below; in this example, I entered the name of the template file as BackupList, so after I extract the template file, I go to the folder named the same as the template file.
Step 3. Go to the folder named after the template file (the BackupList folder, in this example) and you will see the file named “manifest.xml.” Open to edit this file.
*With a large list, you will not be able to open the file using NotePad. Use another tool to open a long text file, such as NotePad++ or Visual Studio. Don’t use Rich-Text editor to open XML file, as it will close the file with incorrect formatting.
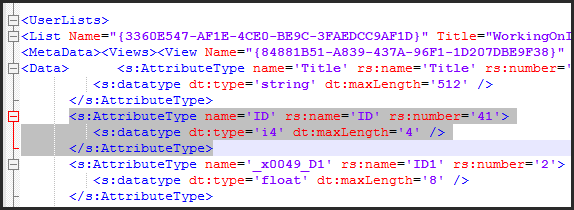
Now, find the string [s:AttributeType name='ID' rs:name='ID'] and replace it with [s:AttributeType name='IDD' rs:name='IDD']
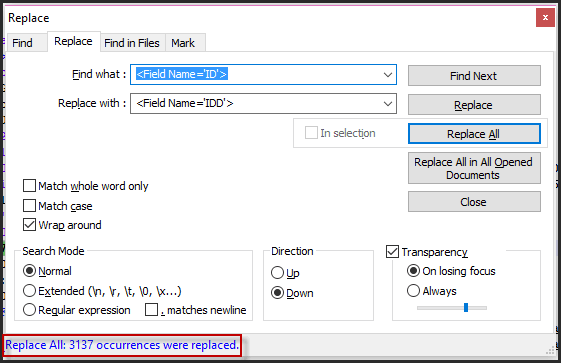
And replace [Field Name='ID'] with [Field Name='IDD']. To do a replace quickly, you can use Ctrl + F to find specific strings and replace them.
The picture above shows there are 3137 items replaced, which means my list has 3137 items. This is not considered a large list, but it is an agreeable size for a demo of how to quickly replace a string.
Now you can save to overwrite it.
Step 4. Now package this file to cabinet.
To package a cabinet file, you can use MakeCab from the Windows System. However, this tool must be run from Command Prompt, so if you are not acquainted with Command Prompt, I suggest using a simpler UX tool, such as the one found here here (http://www.izarc.org/). I use this tool because it makes a cabinet file with the correct structure needed by SharePoint. I have tested a different tool, but it failed when I attempted to upload to the List Template Gallery.

After you have downloaded and installed the tool, run it.
Click on Menu File -> New Archive. Select a folder and type a file name, like RestoredList.cab. Select a folder to be zipped.
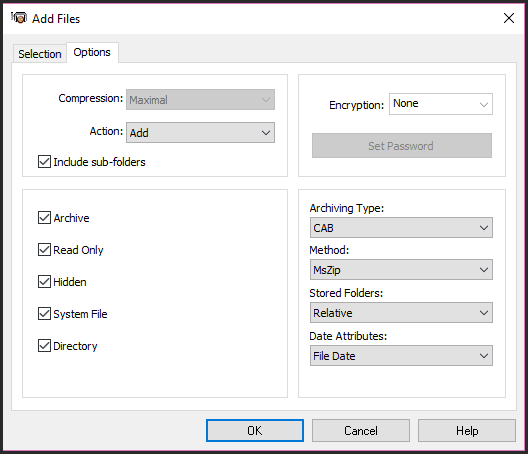
Remember to check the options and leave them on their default settings. Click OK to create a cabinet.

Now you have a cabinet file in the folder.
**Step 5. Rename the extension of the cabinet file to .stp (in this example, RestoredList.stp). **
Upload this file to the list template gallery and create a new list from this template. The result should be the same as the original list, except that the “Created” and “Created By” columns have been modified by the user who logged into the site and created the list from the template.
Conclusion
With a large list, I found that saving the template and restoring from the original template can take a significant amount of time. Also, when you open the manifest.xml as text, the editor may not respond because there is too much text. In my next post, I will introduce the PowerShell Script to migrate the old list to a new list that better supports large lists – up to one hundred thousand record.