Discover
What we do
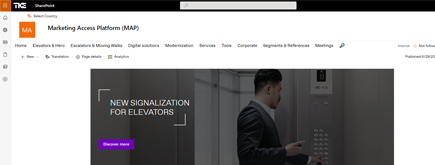
TKE SharePoint rebranding
TKE, a global elevator leader, consulted with NIFTIT to overhaul their SharePoint site for the Asia Pacific team. Enhanced search, mobile usability, and multilingual interface ignited innovation.
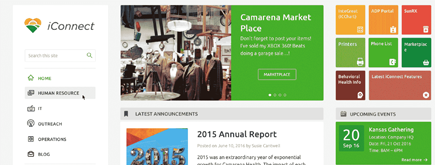
Camarena Health
NIFTIT's expertise in advanced UI/UX design combined with the functionality of Microsoft 365 transformed Camarena Health's digital landscape, driving efficiency and engagement.
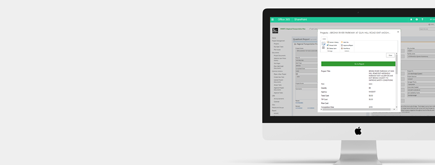
The New York Metropolitan Transportation Council (NYMTC)
Discover how NIFTIT improved data access and enhanced collaboration for NYMTC by leveraging SharePoint, optimizing data connections, and orchestrating business automation workflows.
NIFTIT LLC
85 Delancey St, 2nd Floor, New York, NY 10002, USA 1-848-272-0977
Create Office 365 account for NIFTIT

Here are the step-by-step instructions to create a new account in Office 365 and assign it either the global administrator or SharePoint administrator role:
-
Sign In to Office 365 Admin Center: Log in to your Office 365 admin account by visiting the Office 365 Admin Center at https://admin.microsoft.com/.
-
Navigate to "Users": In the left-hand navigation menu, click on "Users" to access the user management section.
-
Add a User: Click on the "+ Add a user" button to initiate the account creation process.
-
Enter User Details: Fill in the required user details, including first name, last name, and username (email address). You can also assign a temporary password or require the user to change their password on the first login.
-
Assign Role: Scroll down to the "Roles" section and click on "Show all" to view available roles.
-
Select Role: To assign the user as a global administrator:
- Check the "Global administrator" checkbox. To assign the user as a SharePoint administrator:
- Check the "SharePoint administrator" checkbox.
-
Assign Licenses: Assign any necessary licenses for the user's account. You can choose from available licenses based on your organization's subscription.
-
Review and Finish: Review the user's information, role, and assigned licenses. Once everything is accurate, click on the "Add" button to create the new user account.
-
Notify User: Once the account is created, the user will receive an email with their login details and instructions on how to access their Office 365 account.
-
Verification: Log out of the admin account and log in using the newly created user's credentials to verify that the account has been successfully created and assigned the chosen role.
Remember, the steps may slightly vary based on updates and changes to the Office 365 admin center interface. Always ensure you have the necessary permissions to create and manage user accounts within your organization.