How to Install and Configure Reporting Services in SharePoint 2013 and SQL 2012 SP1
By Binh Luong
Published a year ago
~3 minute read

I got a request from client about installing and configuring SQL 2012 Reporting service on SharePoint 2013 Farm environment. Since I work on SQL 2008R2 Reporting Service, this seems to be an easy task for me. However, SSRS in SQL 2012 just had a big architecture change; the SharePoint and SQL 2012 architect has ben improved to use as SharePoint Service Applications.
Now, the Reporting Services Config Manager can only be used to create a Native mode database and you can no longer find SharePoint integrated mode anymore.
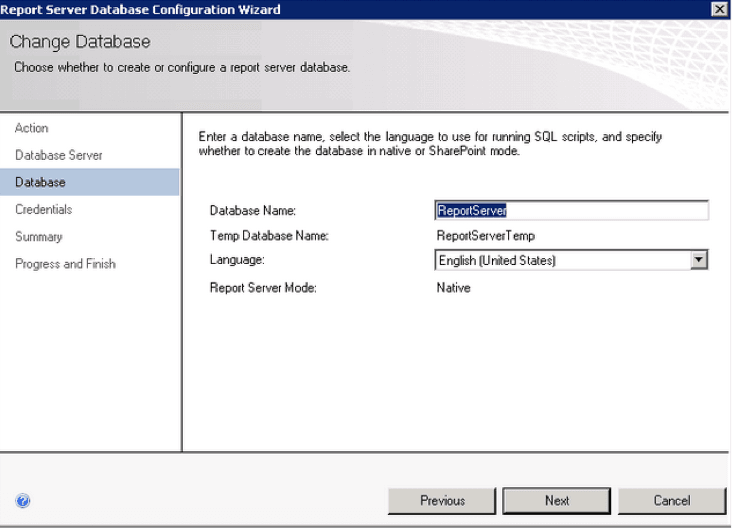
In SSRS 2012, SharePoint takes care of all SSRS web service behavior. Reporting Services is now a service application after installing 2 options from SQL server 2012 install media: Reporting Services – SharePoint and Reporting Services add-in for SharePoint 2010 Products.
Before you start the installation and configuration, you should have either:
- SQL 2012 SP1 media (DVD)
- Microsoft SQL Server 2012 SP1 Reporting Services Add-in For Microsoft SharePoint (rsSharePoint.msi), download from http://www.microsoft.com/en-us/download/details.aspx?id=35583
Assuming that we installed SharePoint 2013 on a SQL 2012 instance with selected option Reporting Services- Native.
Below are the steps we should do to install and configure in SharePoint Farm Environment. In my case, it is the SharePoint 2013 and SQL 2012 SP1
- In SharePoint App Server, install both 2 options from SQL Server 2012 Media or installation file [rsSharePoint.msi]
- Reporting Services
- ** Reporting Services Add-In for SharePoint**
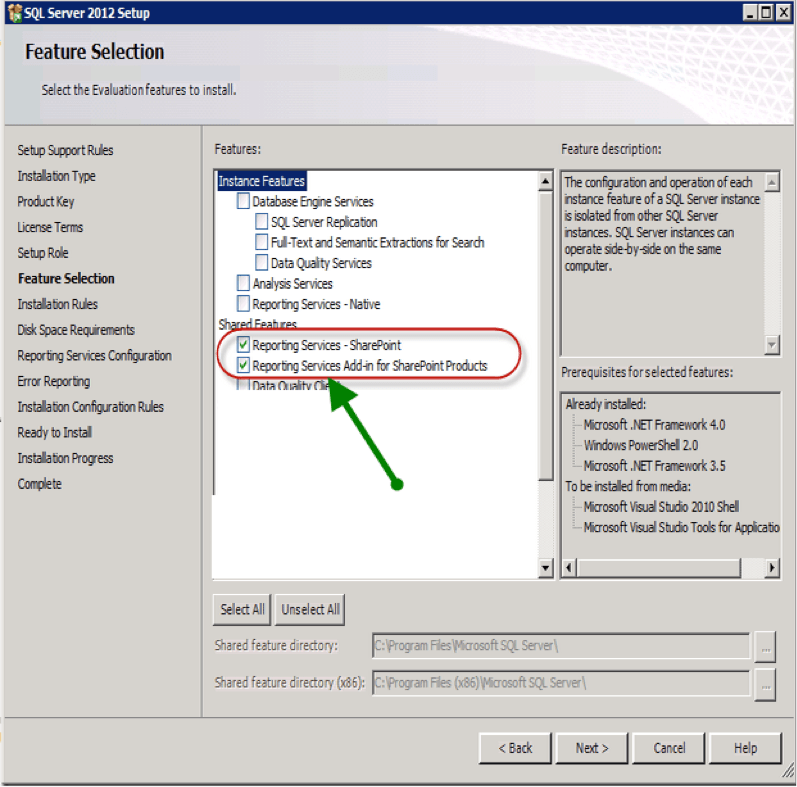
- In SharePoint App Server, install both 2 options from SQL Server 2012 Media or installation file
- In SharePoint 2013 Front-end Server, install option below:
- Reporting Services Add-In for SharePoint
- In SharePoint App Server, Run “Install-SPRSService“ cmdlet from [SharePoint 2013 Management Shell] to install the service.
- Run “Install-SPRSServiceProxy” to install the service proxy
- Run “get-spserviceinstance -all |where {$_.TypeName -like "SQL Server Reporting*"} | Start-SPServiceInstance” to start the service.
- Now “Microsoft SQL Server Reporting Services service” will be available there. We can check by going to: Central Admin => System Settings => Manage Services on Server

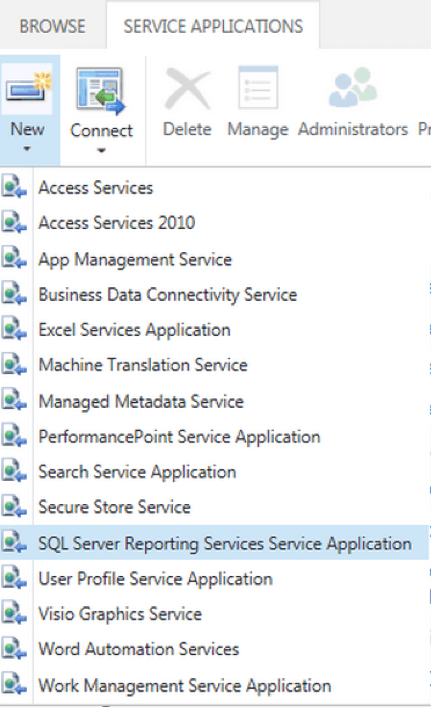
- Next step to configure SQL Reporting services service application. Go to Central Administration => Application Management => Click Manage service application under Service Applications, Click on New and click on “SQL Server Reporting Services Service Application”
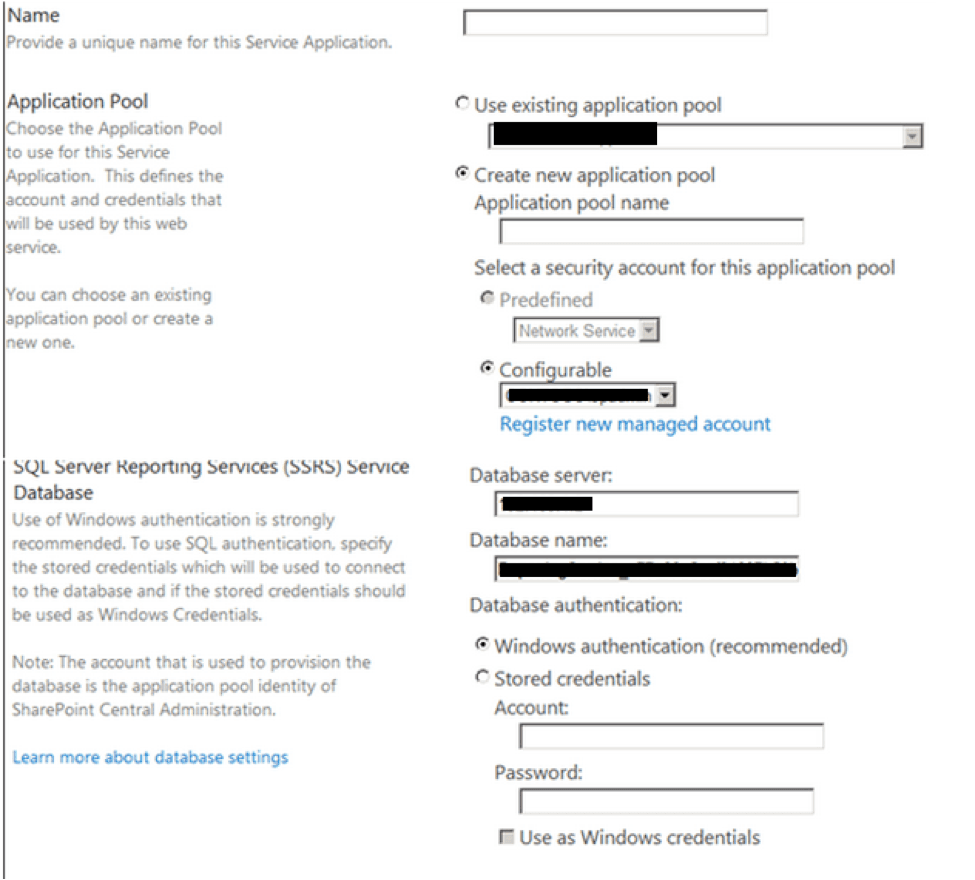
- Provide Service Application Name, Create New Application Pool and provide Application Pool Name, select security account for app pool name prefer domain account, Provide Database server and credential to connect to DB server. Select the Web Application to be provisioned for access by the current Reporting Services Service Application.
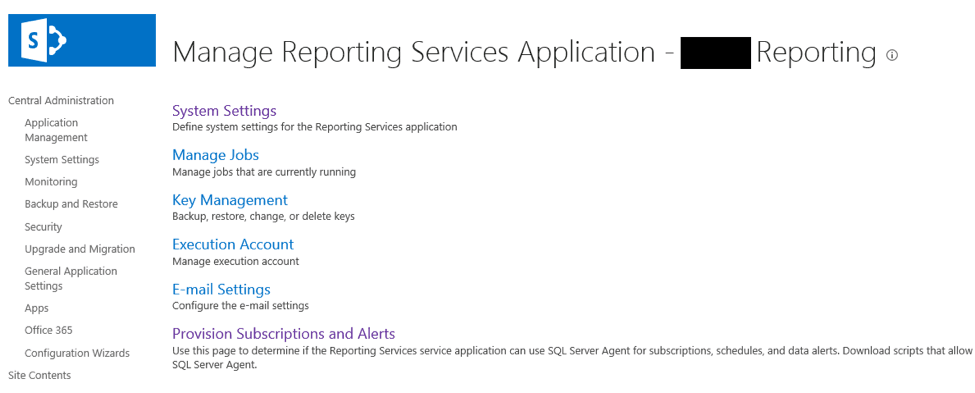
- After the Reporting is provisioned, we can manage report by click on the service and go to Reporting setting page.
- To start to use Reporting, make sure the site collection feature: [Report Server Integration Feature ] is activated

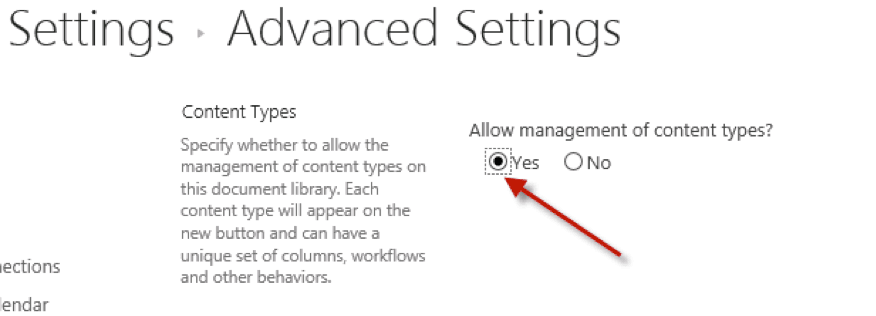
- Create a document Library, and make sure the Library [Allow management of content types] by going to** Library Settings => Advanced Settings**
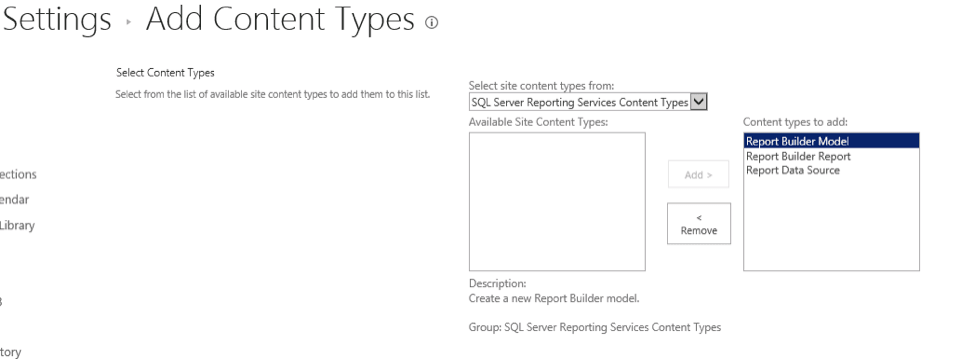
- Add existing content types to Library content types as image below:
- Report Builder Model -** Report Builder Report**
- Report Data Source
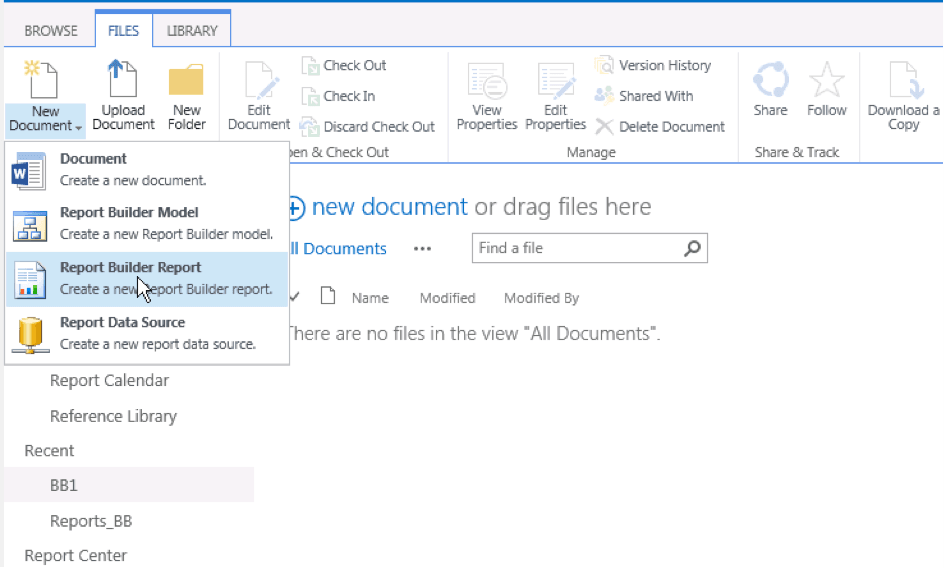
- To Create a report, click on New Document – Report Builder Report
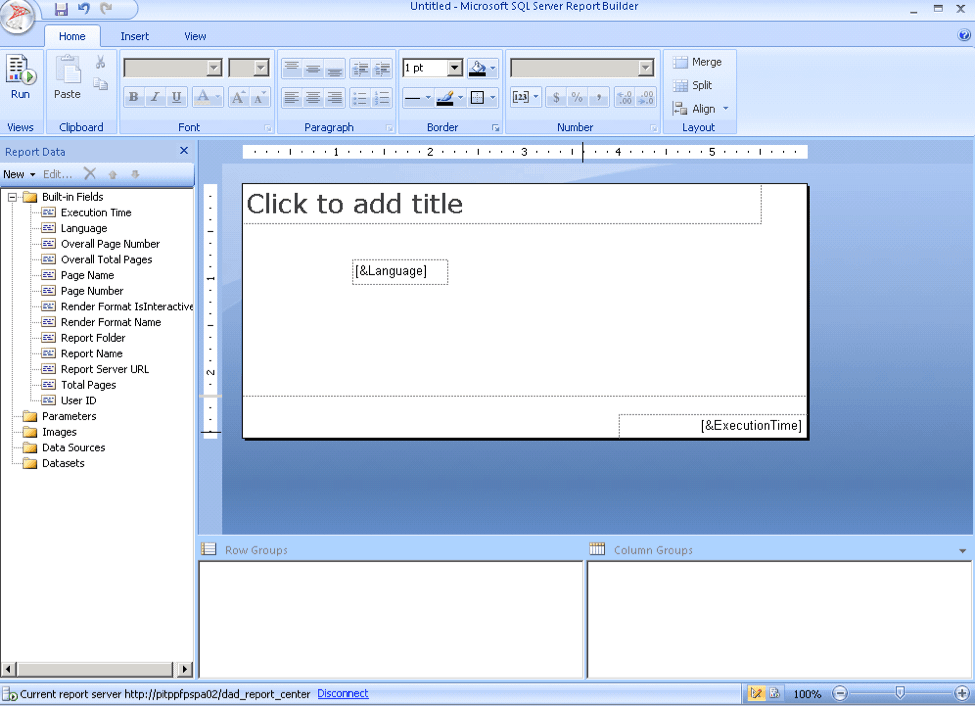
- Report Builder Tool will be downloaded and open for design report
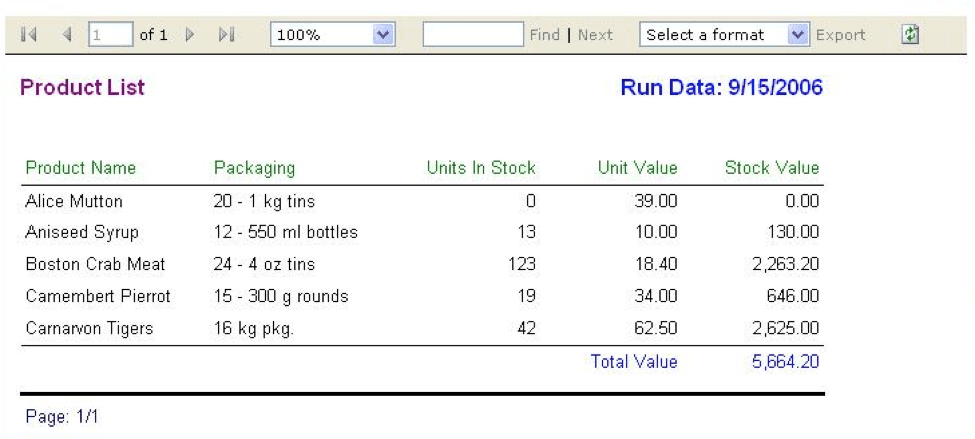
- Click on a report in Report Library, the Report will show like that:
That’s all, folks. If you have any questions/comments, please feel free to comment below.

